
Repair Don't Replace: Tips For Getting the Most Out of Your Backpacking Gear
One of the best ways to save money and help the planet is to repair your outdoor gear and clothing rather than throw away and replace it. If you make it a priority to keep your new backpacking gear in peak condition, then you’ll reap the rewards of getting to use it season after season.
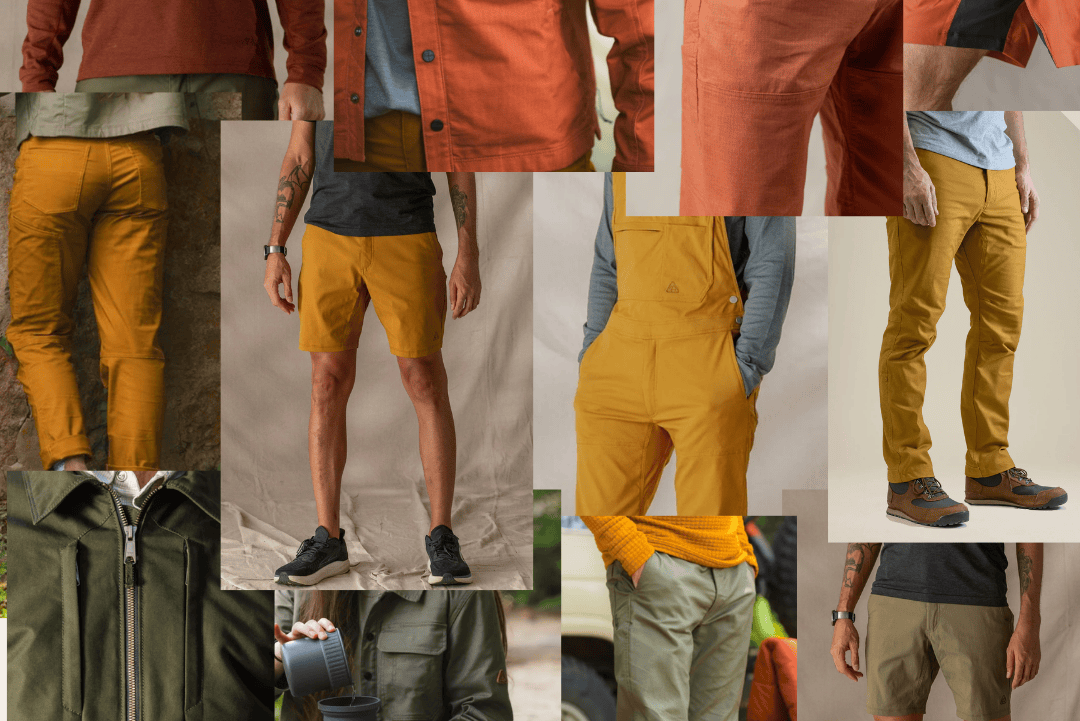
LIVSN products are built with this minimalist mission in mind–our goal is to shun throwaway items in favor of well-designed pieces to remove clutter and create space for living. After all, it’s the experiences we’re after, not the stuff.
When it comes to prolonging the lifespan of your tents, sleeping bags, outdoor clothing, and more, knowing how to properly maintain, clean, and store these items will be your first step. Then, you’ll want to know how to repair your gear when the inevitable comes your way. Here are some tips on how to fix your most common pieces of backpacking gear.

Backpack
Ever washed your backpacking pack? Probably not.
The truth is that giving your well-loved backpack a thorough cleaning about once a year can extend its life. The easiest way to do so is by hand washing.
First, shake out all debris from your backpack. In a large tub (your bathtub will work fine) of warm water, use mild non-detergent soap and a soft sponge to gently scrub the areas of your pack that are particularly dirty. The areas where sweat typically builds up, like the shoulder straps, hip belt, and back panel will deserve special attention. Use a toothbrush to scrub zippers, especially where sand and dirt might have built up.
Always air dry your pack after washing; never tumble dry a backpack.
If you’re giving your backpack a life of adventure, it’s likely to end up with a few tears. Ideally, if you notice the tear early enough, you can sew it up on your own. Fishing line is great for a sturdy sewing job. For larger rips or holes in your pack fabric, nylon patches are your best bet. Sew them on–again with fishing line–for the best results. Adding seam grip to patches or sewn sections helps waterproof your repair job.
For broken zippers, buckles, or other hardware on your pack, you should first contact the manufacturer. Many brands will accept backpacks for repair or send you replacement parts that you can swap out yourself.
You can easily prolong the life of your backpack by washing it, sewing up rips, and cleaning zippers.
Sleeping Bag
A quality sleeping bag can be one of the priciest pieces in your backpacking setup.
For that reason, taking proper care of it can save you big time in the long run. When using your sleeping bag at camp, avoid putting it directly on the ground to keep it clean. Using a sleeping bag liner (hint: you can sew your own out of an old sheet) can also help with keeping in the inside clean. You should also wash your bag according to the manufacturer’s instructions about once a season to keep it going strong for years.
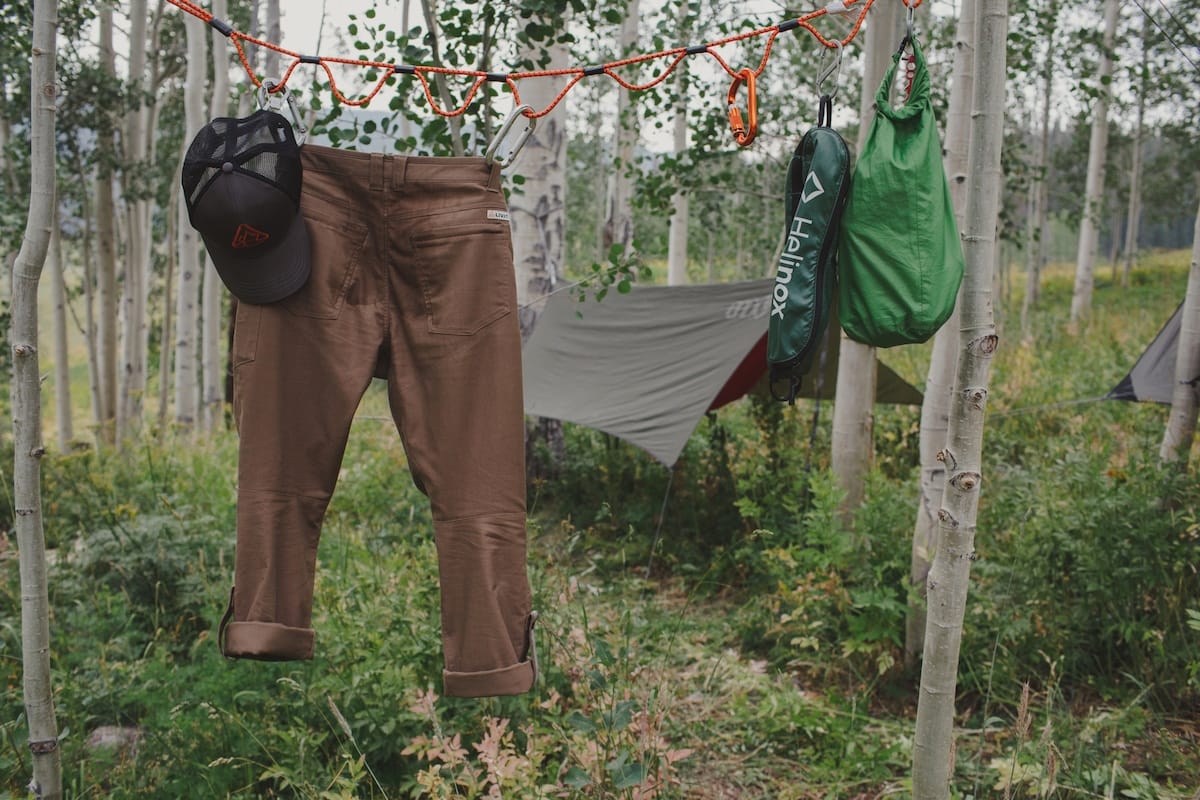
When you’re out backpacking, you’ll be carrying your sleeping bag around in a compression or stuff sack. Back at home, it’s tempting to keep your sleeping bag in that nice compact stuff sack, but doing so will eventually damage your sleeping bag’s fill, whether it’s real or synthetic down. Instead, let your sleeping bag air out after a trip and then store it in a large mesh or cotton bag.
For rips or tears, you can restore the bag with a gear repair patch like Tenacious Tape. Push in any fill or feathers that may be escaping from the bag, prep the area with a little bit of rubbing alcohol, then apply your patch.

Tent
When you set up camp, always put down a tent footprint or tarp to protect your tent from dirt, moisture, and rocks on the ground. Try not to leave your tent in direct sunlight for extended periods, since UV rays will degrade your tent fabric over time.
Be sure to shake out all debris from your tent and dry it off as much as possible before packing it back up. Back at home, fully air dry all of your tent pieces before storing it back in the bag to avoid mildew.
You can repair tears in the tent fabric and mesh with a few easy steps. Clean the area first with rubbing alcohol and a towel. Apply a gear repair patch that’s about an inch larger in all directions than the tear. For heavy use areas like the tent floor, apply a patch on the interior and the exterior.
For broken or missing tent stakes and poles, try replacing just those components rather than replacing the whole tent.
It’s relatively easy to repair a rip in your tent and it’s a lot less expensive than buying a new one
Clothes and Jackets
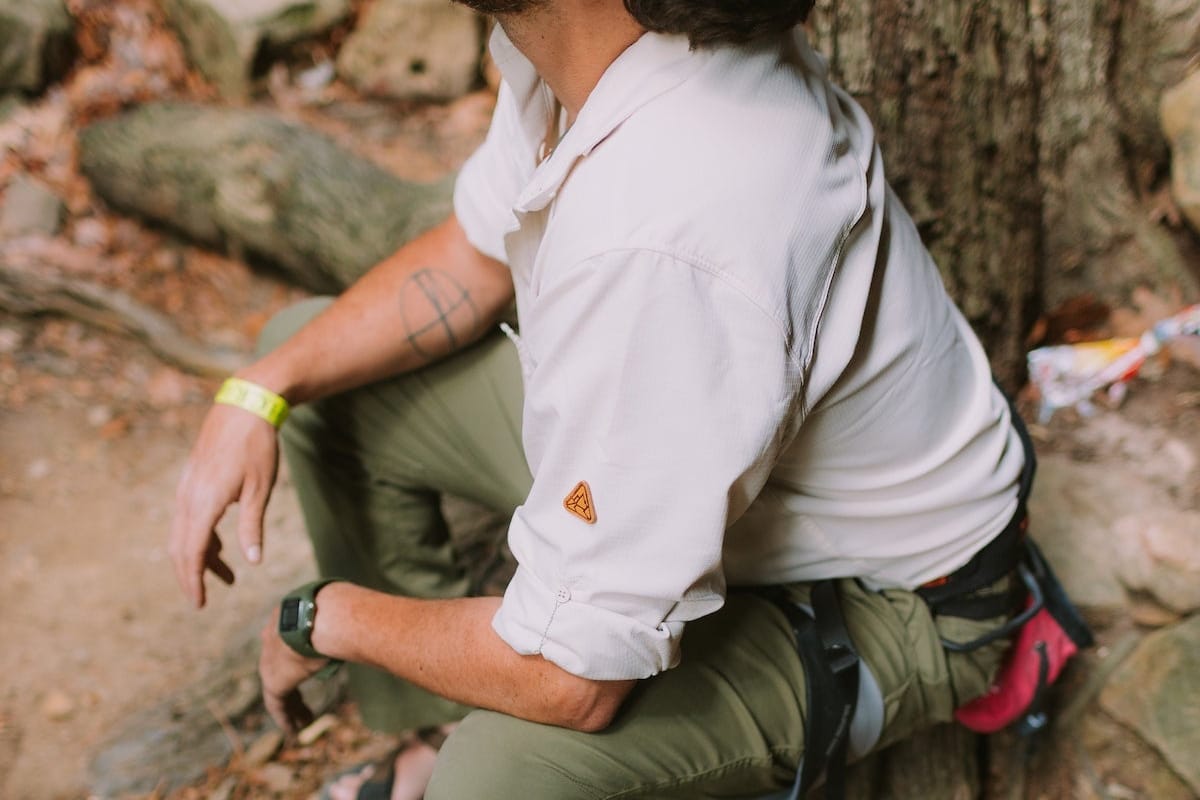
When it comes to keeping the same backpacking and outdoors clothes in your closet season after season, the best thing you can do is purchase well-constructed pieces made from quality materials.
However, even the best-made clothing will start to show its age after years of wear out on the trail. Preserving the exterior of your jackets and waterproof gear is a must for getting the most use out of them. Wash and dry your technical gear like rain shells and down jackets according to manufacturer instructions and with the appropriate cleaner products–the Nikwax line of cleaners are tried-and-true.
Well-loved down jackets are bound to end up with a few holes or tears, but they’re easily fixable. Avoid the temptation to do a quick-and-dirty patch job with duct tape – you’ll get longer-lasting results with specialized gear repair patches. Use rubbing alcohol to clean the area around the hole or rip before applying your patch. Let the patch cure for about 48 hours before wearing it or bending the fabric.
Pro tip: round the edges of the repair patch with scissors to prevent the edges rolling up.
Sleeping Pad
No matter what style or brand, sleeping pads are pretty notorious for needing repair every once in a while. Knowing how to effectively find and patch holes will help you hold on to the same one season after season.
If you notice your sleeping pad losing air, step one is locating the puncture. Inflate your pad and rub it down with a sponge and soapy water (hey, that also counts as cleaning it!), and look for the spot where air bubbles are emerging. Dry off your pad and grab your trusty patch kit. Prep the area with rubbing alcohol for better adhesion of your patch. Spread seam sealer and then apply a patch once the seam sealer glue is tacky.
Final Thoughts
If you’re all about repairing your gear before replacing, then you may enjoy reading about our other brand principles. For more details regarding LIVSN's warranty policy check out the Fair Deal Guarantee.
Written by Jenna Herzog for Matcha in partnership with LIVSN.


Leave a comment
This site is protected by hCaptcha and the hCaptcha Privacy Policy and Terms of Service apply.